CFLsurf.com
Central Florida Surf Forecast and Reports


CFLsurf Home Page || About this Site || Photo Galleries || Surf the Web || Return to Repair Series Page

Part 2 of Ross's Famous Surfboard Repair Series

Experimental Lightweight Board Repair

This is the story of a Boardworks epoxy board that had a 5 foot section of the deck completely delaminated and was subsequently broken in half. I didn't break this one, but I've broken 11 boards in the past 10 years, including 2 of these high-tech epoxy things. The goal of this task was not just to fix the board, but to do so without adding significant weight and rigidity, two things that can really ruin a board.

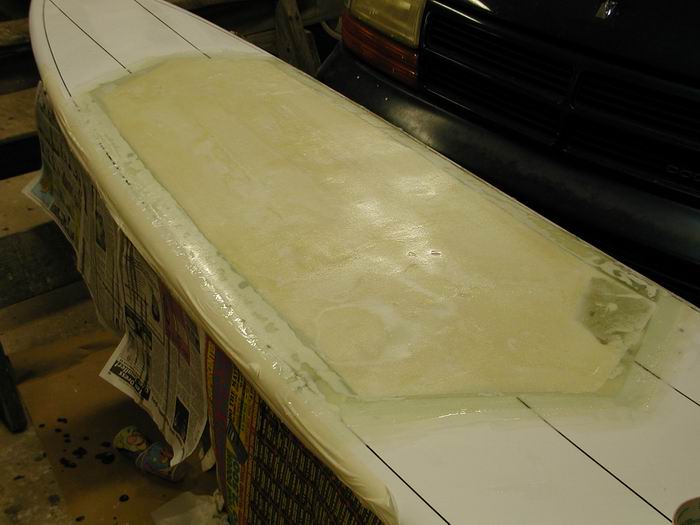
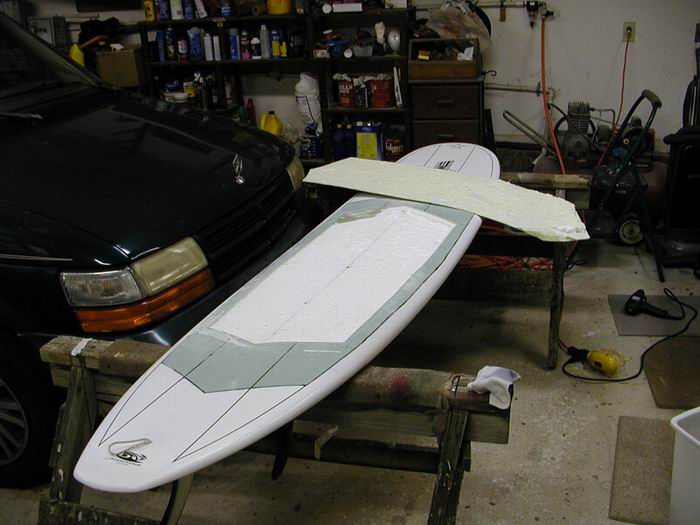
This is a rather extreme case. Most breaks are not this massive. As you can see in the two pics above, I tacked the board back together with side patches for ease of handling. The bottom laminate was still good, but the foam was broken all the way through and badly crumbled around the break area.

On the first attempt, I used Right Stuff spray can foam as filler. This was a major mistake. Right Stuff is hard to work with, much too soft, and ends up with too many large air pockets. It does laminate well with epoxy however, and appeared to bond well in initial testing. It worked OK for about a week in chest high waves.

Sanding it down was extremely difficult due to the soft foam, and the large air bubbles took quite a few coats of filler with a resin/microballoon mix which added extra weight I didn't want to add.

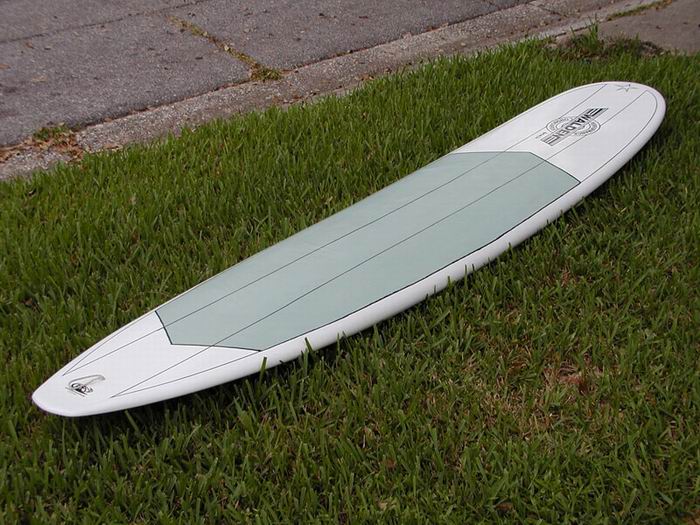
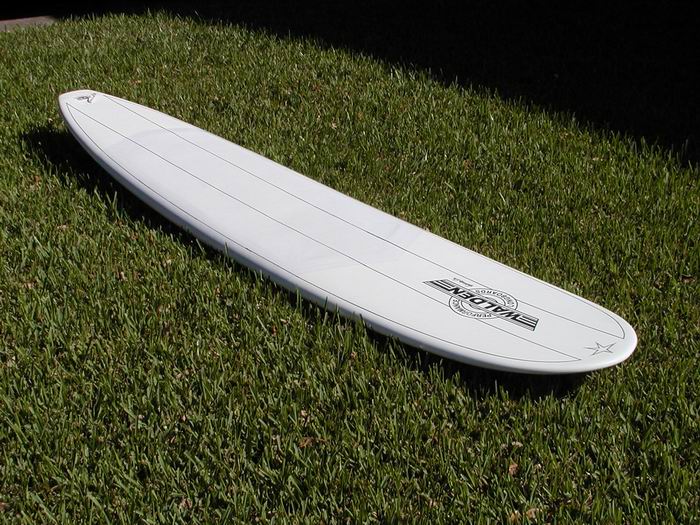
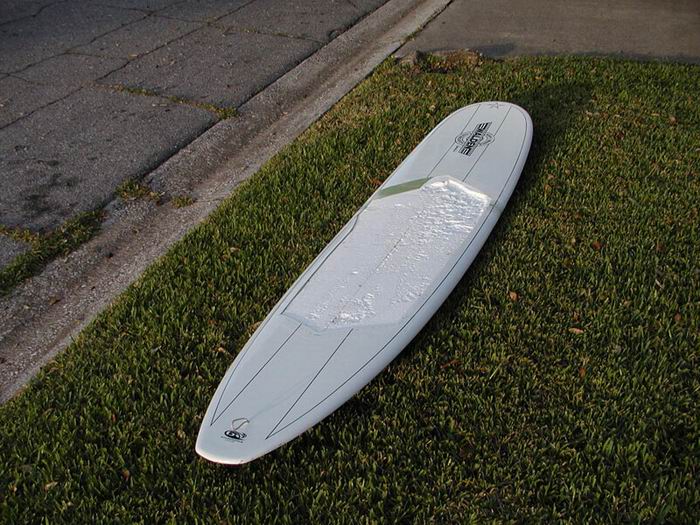
The finished board weighed 15.5 pounds with fins, which is pretty light for a wide 3" thick 9 footer. However, after a week of use,
the Right Stuff foam separated from the polystyrene foam core, and the entire rear half of my patch bubbled up.

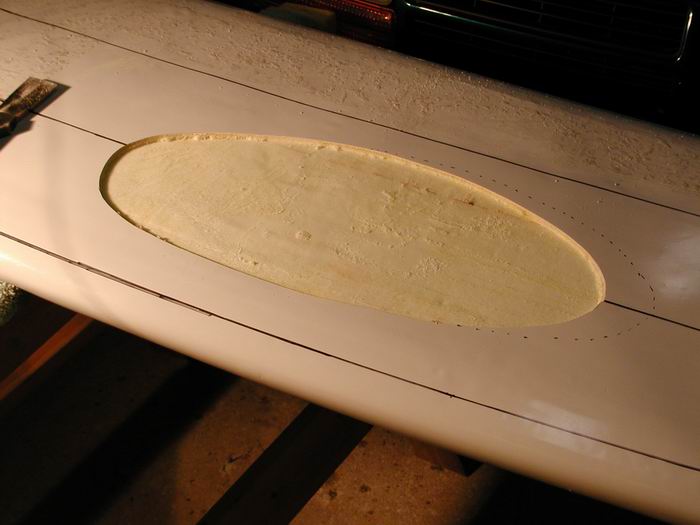
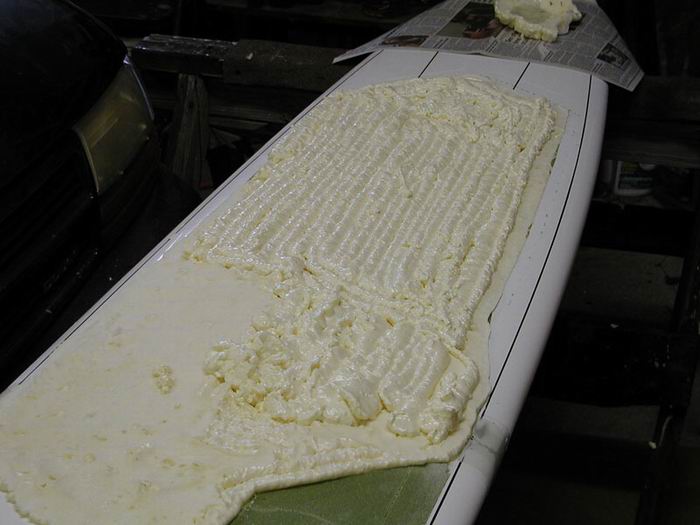
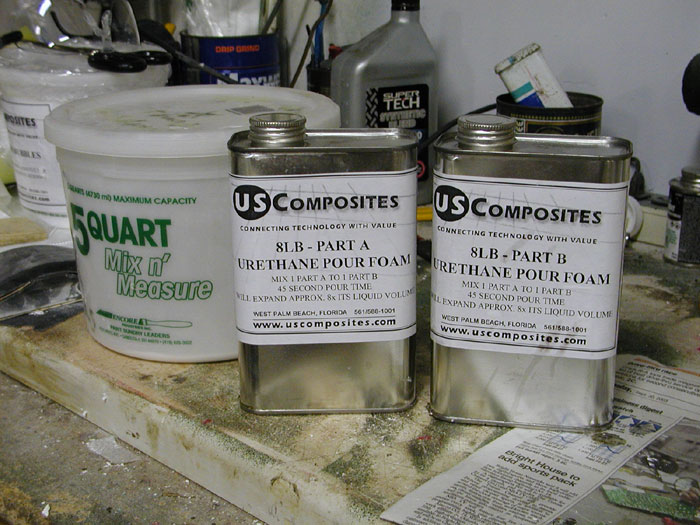
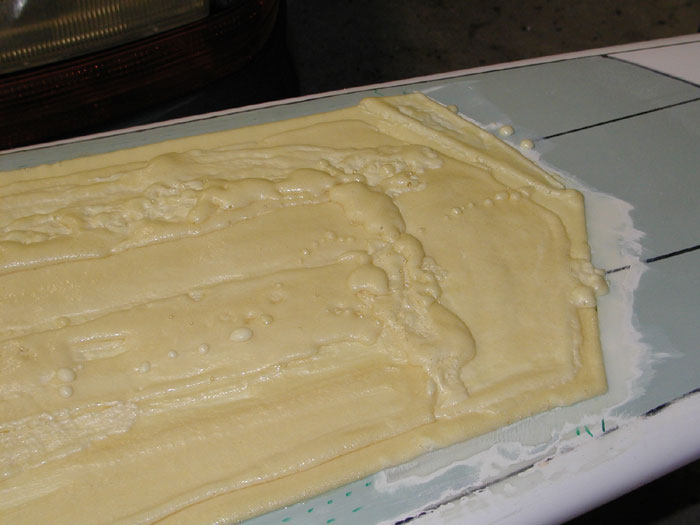
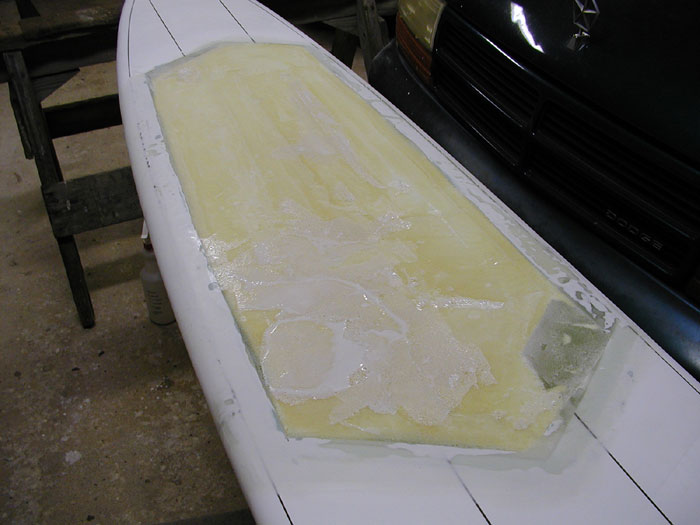
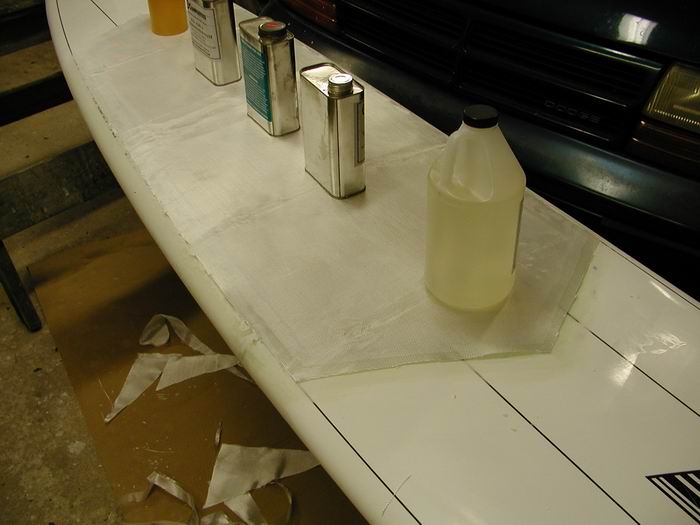
I cut the entire deck patch back off using a Dremel tool. We are now looking at a gap of 3/8 inch deep, 5 feet long, and 18 inches wide (once again). The damage to the foam is over an inch deep in a few spots towards the front deck where the board-break pulverized the foam. If I were to use a microballoon/resin mix for filler, the board would end up way too heavy. I didn't want another 20 lb board. The board, as you see it sitting on the saw horse with the deck removed weighed 13 lbs with fins attached. Before the deck was cut off, it weighed 15.5 lbs. A light board makes a BIG difference in the water.


The next trial used high density two part pour-foam. Pour-foam comes in 2, 4, 8, and 16 pound densities. I selected the 8-pound density since this is for the main deck. First I laminated a layer of 6-ounce cloth to the polystyrene core with a light application of resin. After this cured and was sanded lightly with 60 grit to rough it up, I did a small test pour of the foam. It bonded so well that I could not pull it off. I then poured the entire deck one strip at a time, giving it a few minutes to set up between pours. The pour foam gives you plenty of time to work. Since this was my first use, I mixed small amounts in 6 oz Dixie cups for each strip, using 3 tablespoons of Part A and three of Part B per mix. This took about 2 hours to pour the deck. Next time I'll use larger mixes. You need to get a feel for how to use the foam first, so start with small batches.


The foam sets up extremely hard. You can't dent it with your fingernail. I built up the deck well above the level I needed. After letting it cure for 24 hours, I tried a block plane, sureform file, and 40 grit paper on an electric orbital sander to cut it down. None of these things worked very well. So I tried a 9" grinder with thick pad and 100 grit disk. This makes a real mess, but cuts the foam down in no time - perhaps 5 minutes at most. The grinder can gouge the foam very easily, so I used very light pressure and let the disk sit almost flat. Final sanding was with 60 grit on a hand block..


The low spots and bubbles still needed to be filled with microballoon/resin mix. Some folks use lightweight interior/exterior spackling compound. I use this for small bubbles, but for larger dips I prefer the resin mix. There were lots of small bubbles, but not anything like the spray can foam caused. The board, as you see it now, weighs 15 lbs. The 8 pound density foam is a little heavier than the spray can foam, but many times stronger, and appears to bond extremely well. Using the pour foam isn't any more difficult than filling with a microballoon/resin mix, but weighs a small fraction as much. The coating of foam you see in the above pic is 3/8 to 1/2 inch thick. The same fill using microballoons and resin would have resulted in a 20 lb (or heavier) board at this stage. I wiped off all the green paint with acetone. I am just going to paint it white this time. The green got too hot in the sun. Epoxy boards do not like to get hot.


After filling all the low areas and air bubbles, I sanded it once again with 60 grit using a rubber hand block. Here it is with two layers of 6-oz cloth waiting to be laminated. The cans on the cloth are to hold the cloth in place while it is trimmed. I am using about a 1" overlap. On the first repair attempt I lapped all the way around the rails and 2" onto the bottom (probably over-kill). The break has 3 layers of cloth with a tapered overlap. The rest of the patch area has two layers on the rails. If you sight along the rails with a light you can detect a slight rise over the break, but it is not very noticeable, certainly not enough to harm performance in the water.


30 minutes later it was laminated. The resin I am using is yellow. Since I am going to paint over it, I didn't need the clear resin which cost more. This resin sets up rather slowly and gives me lots of time to work. I was in a hurry to go surfing the morning I did this, so I ended up with 4 really bad air bubbles. No problem. I just cut them out with a razor and refilled them after the resin gelled. A waist of time just because I didn't give it a final check. The moral of the story - check very closely for air bubbles before you walk away after laminating. The board now weighs just a hair under 16 lbs. It will take about 6 to 8 liquid oz of resin for the final coat.

And here it is, finished and ready to ride. It ended up just over 16 lbs, which is lighter than my 9-4 Surftech that isn't as wide or as thick. I didn't weigh it when I first got it, but it was pretty wet then anyway. It is a little over 1/2 lb heavier than when I first fixed it, but now it has 3 layers of 6 oz cloth - one layer below the pour foam and two layers above. I used regular Krylon fast drying spray paint. The Krylon Fusion is nice stuff too, but it takes 7 days to harden enough for use. The regular Krylon requires a primer undercoat, but hardens enough for sanding and polishing over night, and can be surfed as early as 48 hours after painting. One of my boards was painted with Krylon over two years ago and still looks fine. After several weeks of use, I'll update this page with how the board performs and is holding up. I don't advise launching into a major pour-foam repair effort until we see how the bonding holds up under use. It definitely feels more solid than it did with the Right Stuff foam, which gave a very squishy (soft) deck.


After a few days of use, a 12" by 8" area where I stand bubbled up. I didn't let it cure more than 48 hours, so this might be one reason for the failure. Also, the 8 lb density foam is very brittle. I will try 4 lb density foam next time. I cut the bubbled area out once again, and glued in a piece of blue extruded Styrofoam to fill the 1/4 inch gap from the core to the deck. Plain white expanded Styrofoam would have been easier to work as the blue board takes some real effort to shape down by hand. This patch has held up OK so far. I have used the board 4 or 5 times since it was finished.


No, I don't fix boards for a living. I am just experimenting with new methods and materials with the goal of publishing anything interesting. I have had too many boards come back too heavy from repair shops which used 40-year old repair techniques. I think there are better ways to fix boards than with the methods and materials used since the 1960's.

CFLsurf Home Page || About this Site || Photo Galleries || Surf the Web || Return to Repair Series Page