CFLsurf.com
Central Florida Surf Forecast and Reports


CFLsurf Home Page || About this Site || Photo Galleries || Surf the Web || Return to Repair Series Page

Part 3 of Ross's Famous Surfboard Repair Series

Featuring the Incredible Broken-in-half-seven-times Board

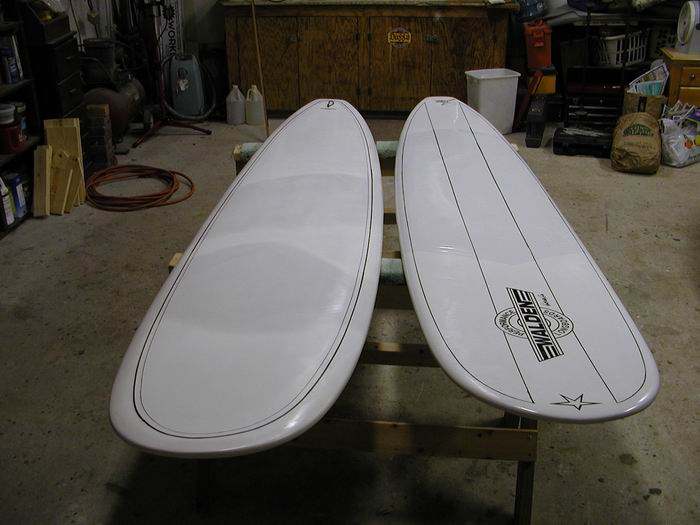
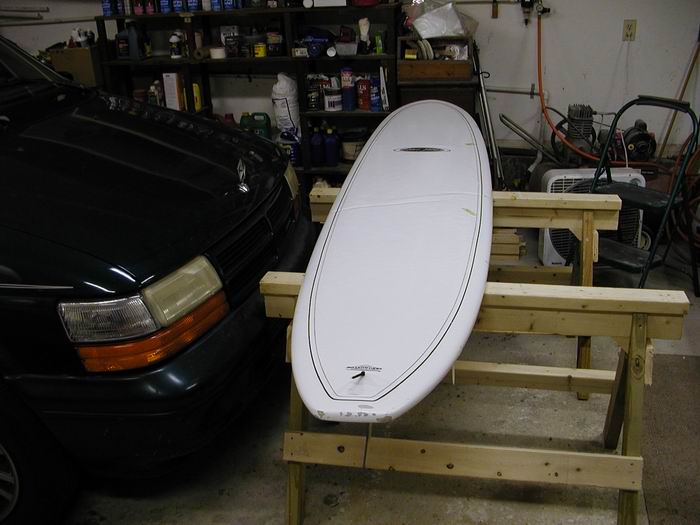
This page documents the repair of a 9'6" Boardworks (Bruce Jones model) epoxy surfboard that was severely buckled. Since epoxy boards are more resistant to tearing than polyester boards, buckled epoxy boards occur more frequently that total breaks. Note that Boardworks and Surftech boards are quite similar in internal construction. I am using damaged Boardworks boards for my articles because they were available at the time. There is absolutely nothing wrong with Boardworks boards. The boards you will see featured in my articles were old units that had been beat up, left in hot vehicles, holed and not repaired, and finally donated to me. It just happened that I knew more people with Boardworks boards than Surftech boards at this particular time.


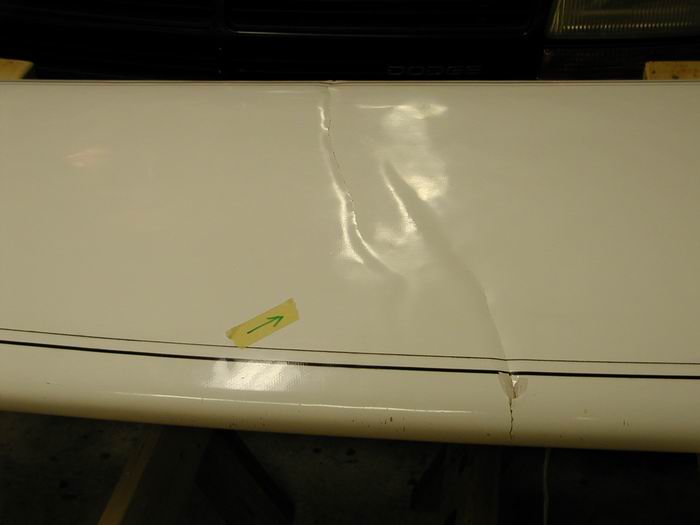
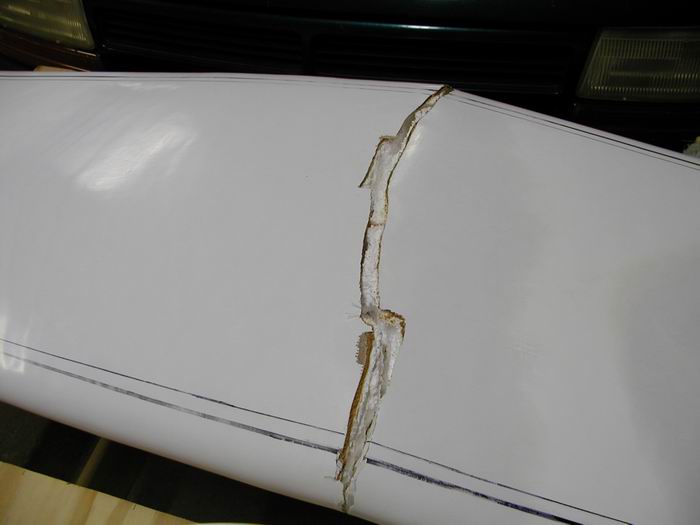
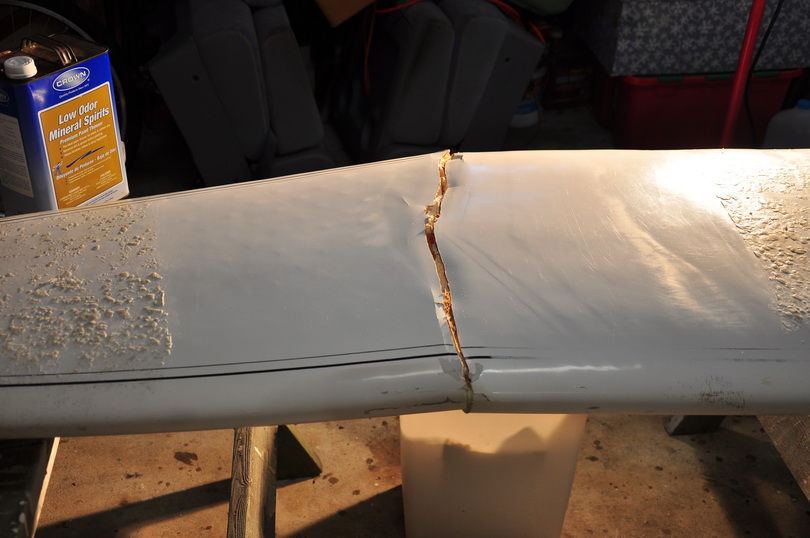
Although the buckle cracked both rails all the way through, it didn't damage the bottom of the board. Thus the board was still aligned and was structurally intact. One way to fix this board would be to sand down the high areas, fill the low areas, and band the damaged area with two layers of cloth on the deck and bottom of the board. Such a patch might work in a case like this. But my goal here was to restore this board to a close resemblance of its original strength without adding noticeable weight or increasing rigidity. And of course, why do something the easy way when you can make it much more difficult.

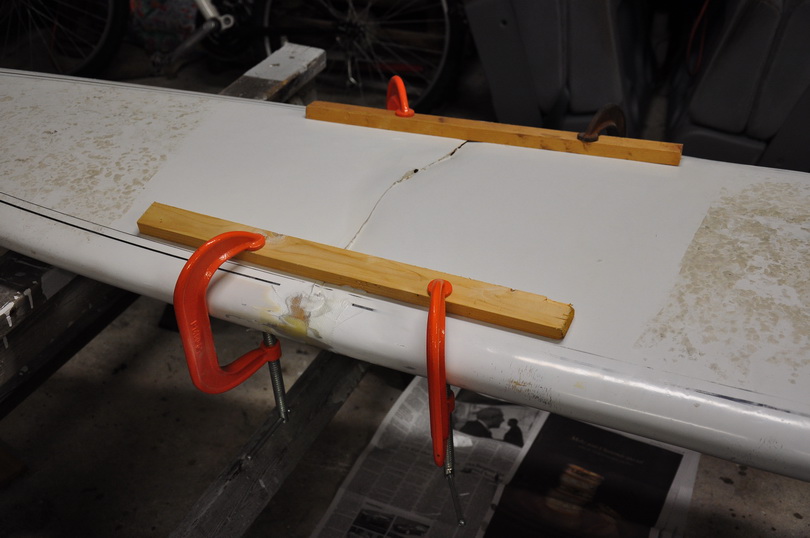
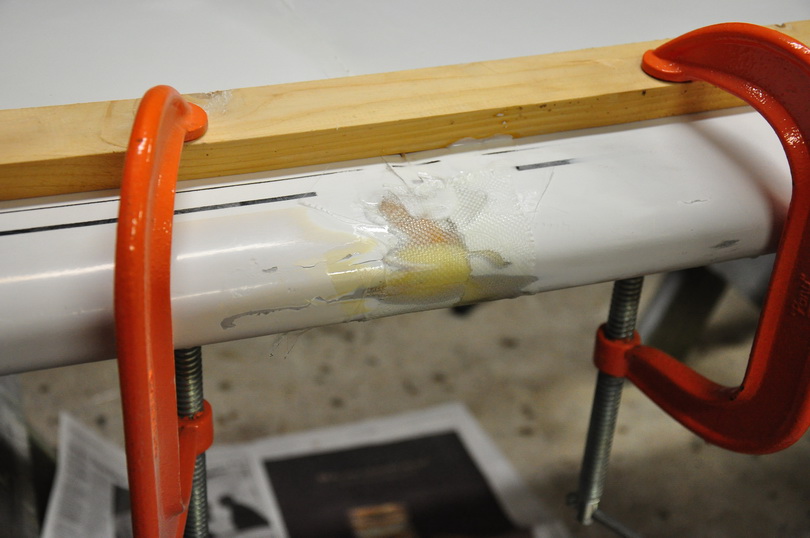
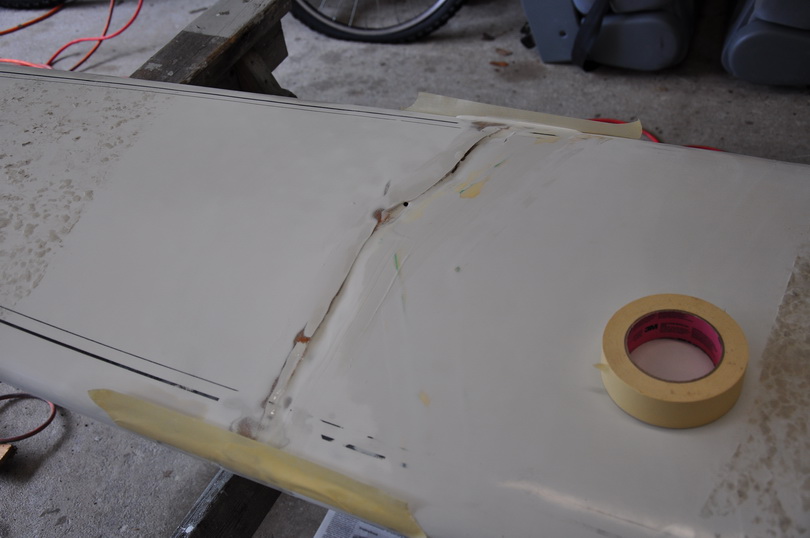
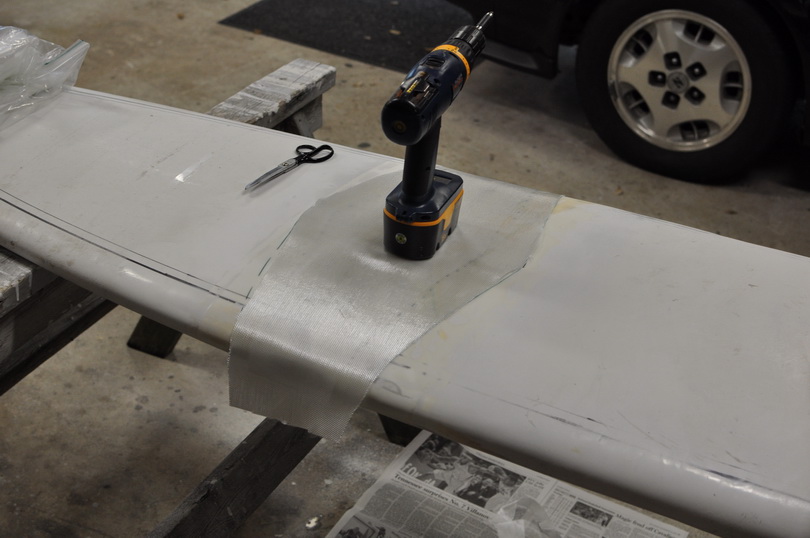
The first thing I did was laminate tack patches over the breaks on both rails. These are double layers of 6 oz cloth whose sole purpose is the hold the alignment of the board. The bulk of these patches will be sanded off when I install the final patch. I do this same thing for a board that has been broken totally in half. Gentle handling is still required until the final layers of cloth have been laminated.

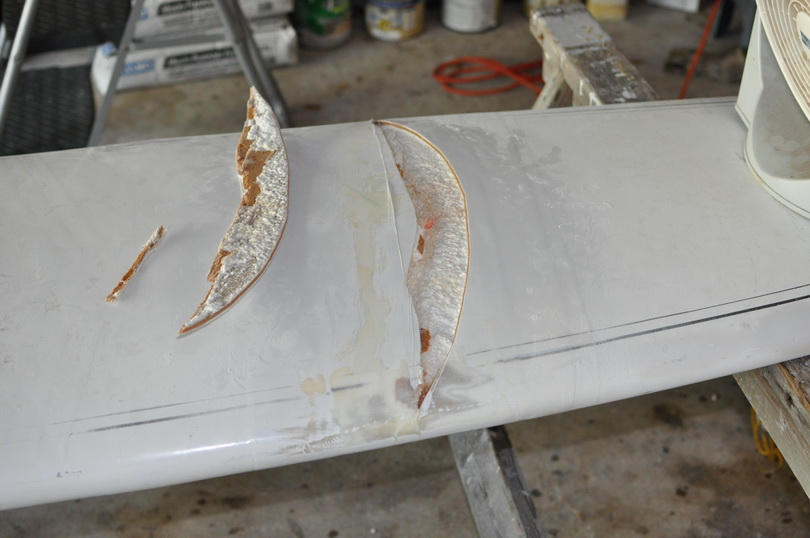
Using a small circular Dremel saw I cut through the outer fiberglass layers. The fiberglass laminate then peels off quite easily, revealing the high density sheet foam wrap that is characteristic of both Boardworks and Surftech models. Since the sheet foam was damaged and delaminated from the polystyrene core (white foam), I cut through the sheet foam and removed all delaminated areas. The dark area in the above pic is the sheet foam before I removed it. Care must be taken in peeling off the sheet foam or it will take a lot of the polystyrene core foam with it.

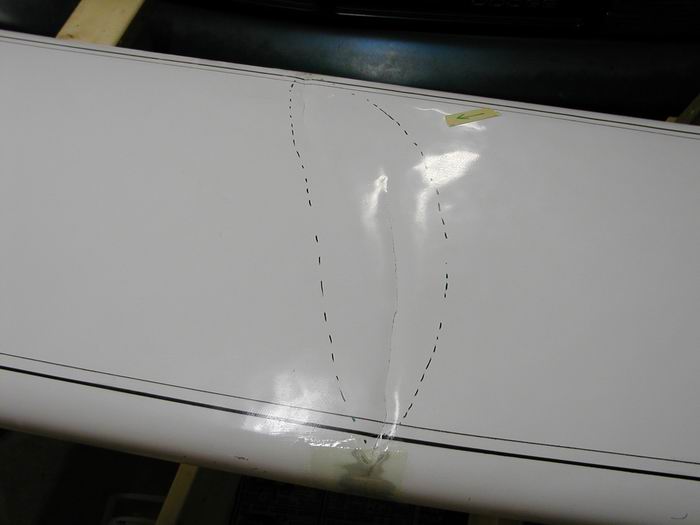
There was also a small bubbled up section across the front deck. I cut out a 2 inch wide rectangular section at first, but noticed that the sheet foam had separated from the core foam over a much larger area. This delamination must be removed. If we leave a large delaminated area, when a strong wave hits the board wrong it is going to find the weakness and snap the board. Save everything you cut out and try not to damage the sheet foam. The easiest patch is to put back in what you cut out since you can't buy this type of polyvinyl foam just anywhere.

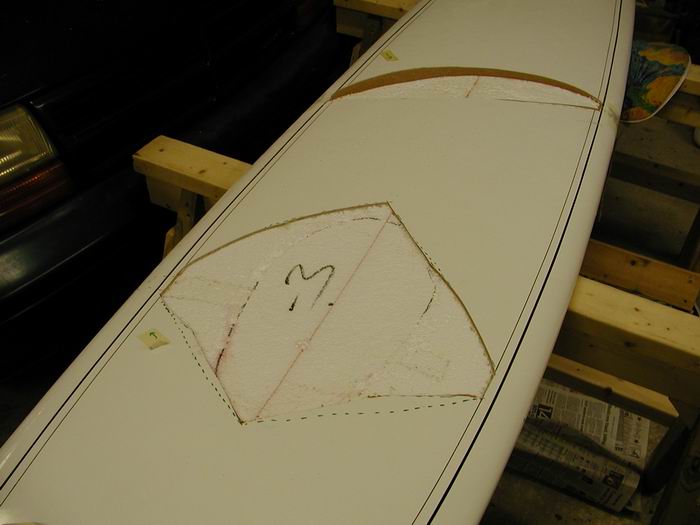
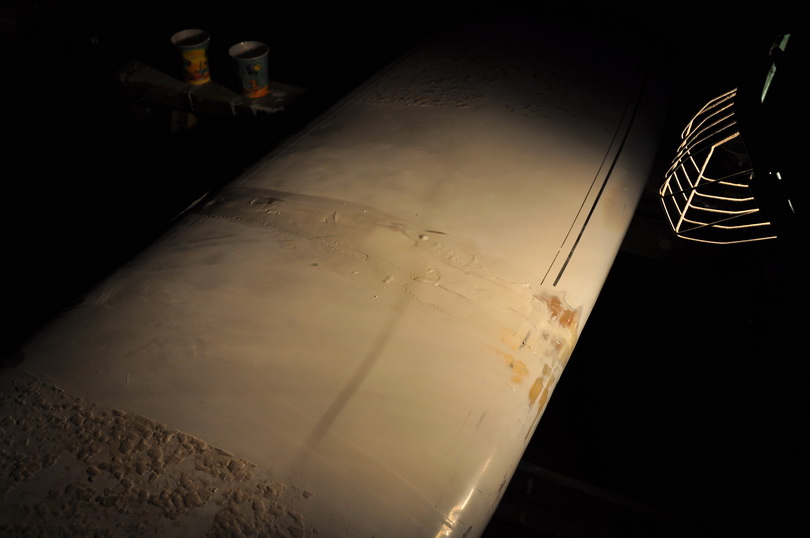
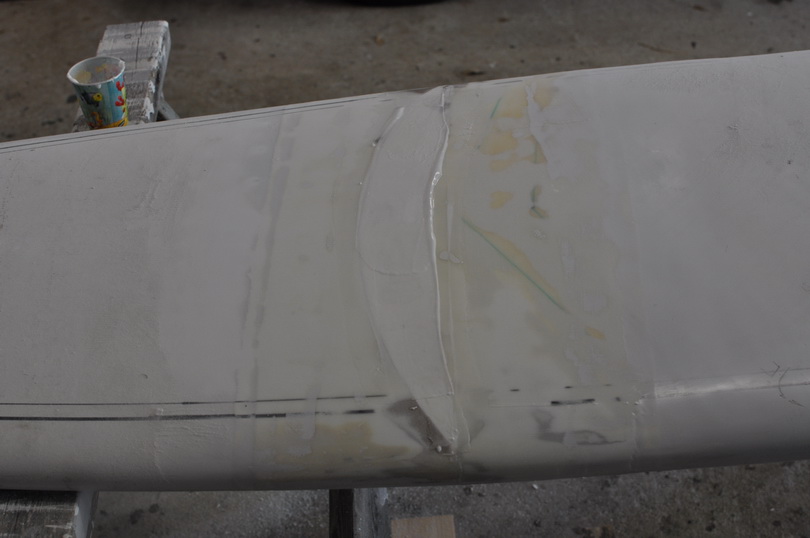
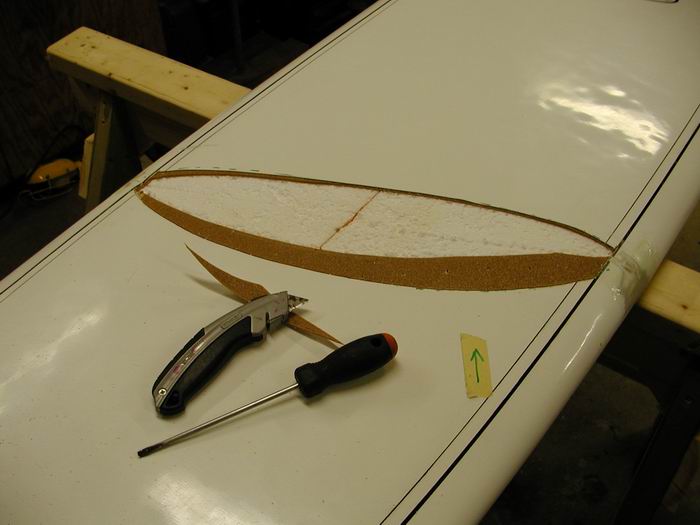
I kept making the hole bigger until all the delamination was removed. Obviously what appeared to be just a little bubble was hiding a serious delamination problem. The delaminated area coincided with an oval area on the board's core which was circled and marked with a "-3". Very interesting that. I am thinking just maybe a factory inspector made that mark to indicate an error someone needed to fix. This board was made in some Western European country with a low-wage structure. The foam was quite wet inside, so there was a obviously a hole somewhere. I didn't find it, but I am sure it is gone now.

The next step is EXTREMELY important. The board must be thoroughly dried out. This may take a week or more. If we skip this step, we are wasting our time on the entire repair process. So... the board goes up on the wall racks with the open cuts facing down to allow water to drip out, and a small fan blowing on the open cuts.

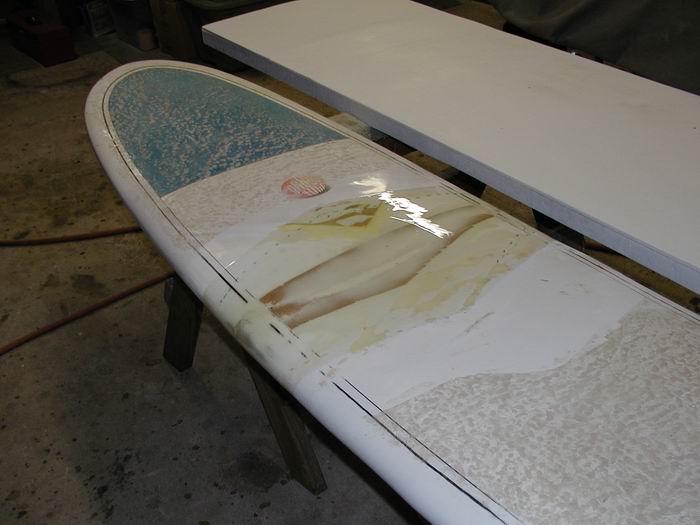
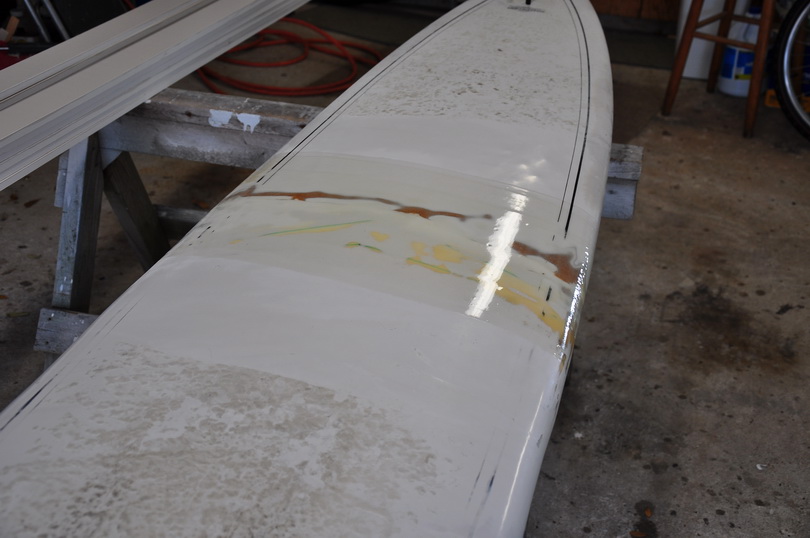
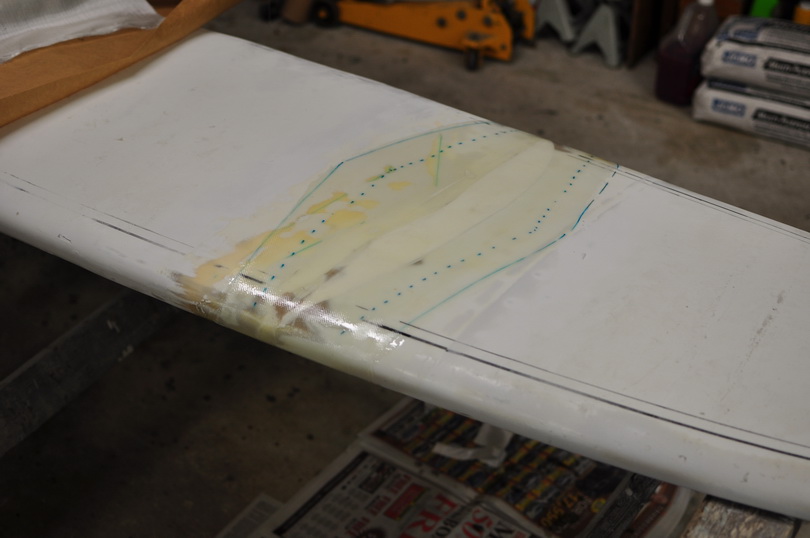
I laminated a layer of 6 oz glass over the foam and then using a mix of resin and microballoons for glue, replaced the removed strips of sheet foam. Pour foam could have been used if the sheet foam had been too badly damaged. Since it was in good shape, wax paper and bricks held it down quite well until the glue set. The small holes that remained were filled with a resin/microballoon mix. You can see this as white area in the brown foam. I then glass the patches with two layers of 6 oz cloth and epoxy resin. Since the back buckle was not diagonal across the board, I didn't use a diamond pattern on the glass to save weighed. This will probably prove to be a major mistake down the road since the center of the board gets a lot of stress. Time will tell.


Here they are, ready to surf. The 9'6" on the left came out about 3/4 lb lighter than the 9'0" on the right (which was repaired three times). Both boards feel extremely light in the water.

I don't recommend that you attempt major repairs like you will see on these pages unless you are very patient, good with tools, and experienced with less drastic board repairs. Also, if you break or buckle a Boardworks, Surftech, or other thermally laminated board such as these, and wish to have it professionally repaired, I highly recommend that you have a serious conversation about repair techniques with the folks you chose to fix your board. Epoxy boards like these are already quite rigid. If extensive damage to one of these types of boards is repaired using the methods that have been used for polyester surfboards since the 1960's, there is a significant probability you will not be happy with what you get back. A large quantity of resin/microballoon filler is going to add too much weight and too much rigidity. The 16.5 pound board featured in this article weighed less than 17 pounds when completed. It is now my favorite longboard (and I have a bunch of them). By limiting cloth overlap and not wrapping the board with bands of cloth as is usually done, I am taking a chance that the board will break again. However, that is the trade off. I just don't care for rigid heavy boards.

One month later I broke it again just in front of the top deck patch. A tapered diamond shaped patch may have prevented this.


And here it is, one more time. It has now been broken in half four times and the mid-deck is a continuous patch except for about 6 inches between the the mid and forward patches. If it breaks again, this will be the place. I used diamond shaped patches this time. I won't fix this board again. It now weighs 17.5 to 18 lbs and still has lots of flex. For a big board like this that isn't bad. I think the board sat for too long with water in it and the main deck has separated from the core foam. It feels spongy.

For the type of waves we get here in Central Florida most of the time, this board is perfect for my 200 lb body weight. If it breaks again, I am going to get a NEW one. It's a Boardworks Bruce Jones model 9'6". The blue nose is misted spray paint with clear coat to seal it. It was just too boring being all white. They now put internal stringers in these boards, and I am told this has significantly increased the strength.


Here it is (above) all nice and shiny new, except for four breaks. With fins, it weighs 17.5 lbs. For a 9'6" board that is 3" thick, that is not bad at all. There is still a 6" section that has not been patched. In the next pic below, you can see break number 5 ran right slam through the middle of that unpatched section.

Jan 20, 2005 - Break Number 5. That's it! It is now a solid patch from about 24 inches down from the nose to about 24 inches up from the tail. I haven't weighed it yet, but my guess is that I added less than a pound for this patch. So now it weighs about the same as a new polyester board this same size. It still feels good, but I won't know if it will still ride well until I try it. If it breaks again, I am going to buy a new one just like it. Oh, is that what I said after the third break? The day it broke was the day that about 20 boards got eaten at 2nd Light. It was a real nice day, but that new sand bar is a real board killer.

BREAK NUMBER SIX

Five Years Later - January 18, 2010... see below


Another break! Just behind a previous patch!!! I have NEVER had a board break twice in the same place.


The bottom deck was still attached. The wood splints and clamps pull the rails up to match and make alignment pretty easy.


As usually for me, I tacked the two parts together with a temporary patch using 2 layers of heavy cloth.


Good alignment is critical.


After alignment, the temporary rail patches hold the board together while I fill the crack and build up the deck to be flush.


It takes several applications of a thick mixture of resin and white fiberglass filler.


I laminated with 2 layers of 4 oz cloth on the deck and one layer on the bottom since the bottom didn't get broken.


Here it is, all ready for sanding and painting. Will it break again? Yes. Right behind this patch but in front of the fins.
The deck is just too soft. I can tell the deck has separated from the foam core. This was the problem all along. The board was
left outside in the weather for a year after it broke the first time and just got totally soaked on the inside. But it became a real
nice learner board and launched the surfing career of several new longboarders. I will not fix it the 7th time!!!!!!
Please... whoever breaks it next, just take the fins off and leave it in the nearest dumpster for someone else to fix up for a learner.


ALL DONE!!! Ready to ride. Jan 24, 2010.


The LAST WAVE!!! Oct. 31, 2010. About one minute after this shot was taken that big line you see building on the horizon
caught the board paddling back out in the wrong spot and snapped the deck.


So here we have BREAK #7 !!! (I told him not to use it in big surf). This break was just a little bit aft of a previous break.


Only the top and rails were broken. The bottom still looked good. I used the clamps and splints to assure good alignment.


I kept dumping mixtures of white power glass with epoxy until the filler was built up above the original deck so it could be sanded flush.


As always, I cut the glass cloth into a diamond shape. A weight (the drill) keeps the cloth from slipping out of place while I trim it.
The green lines are just to help guide the cuts. Since I am going to paint it, the green doesn't matter. You would not want to mark it
like this for a clear finish that won't get painted.


All laminated! Next it gets a nice heavy layer of resin for the final sanding coat.


Dec 10, 2010 - ALL DONE for the last time!!! After a little sanding and painting it is ready to ride again. It now weighs close to 20 lbs
(up 4 lbs from its brand new weight of 16 lbs). I gave it to some small kids to use as a learner board. It is still a little soft between the
newest patch and an older patch and will probably break again just in front of the new patch if used in big waves.


CFLsurf Home Page || About this Site || Photo Galleries || Surf the Web || Return to Repair Series Page