|
CFLsurf Home Page
|| About this Site
|| Photo Galleries
|| Surf the Web ||
Return to Repair Series
Page
Part 6 of Ross's Famous Surfboard Repair Series
Small to Medium Sized Ding Repairs
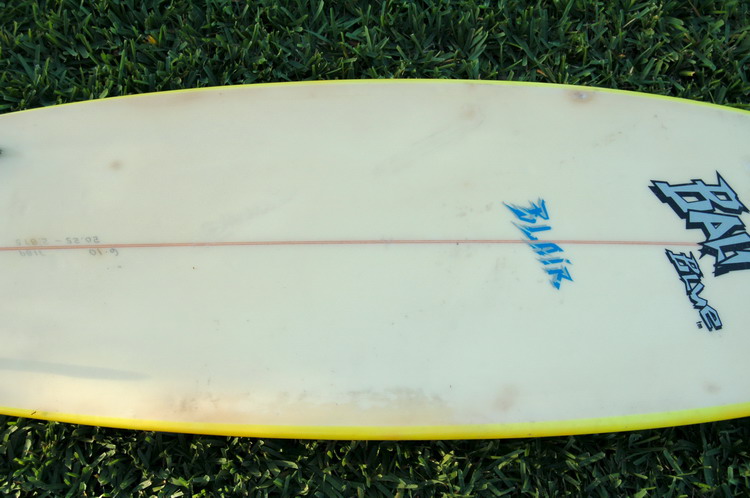
This page covers less severe surfboard repairs than are covered on the other pages of Ross's Surfboard Repair Series. The yellow board I used to get the photos for this page had several older repairs which looked like they were applied in the field using one of the sun cured instant repair products. It also had 4 soft spots where the deck had bubbled up from the core foam. Bubbles like this (called deck delamination) can often result from leaving a board in a hot car with the windows rolled up, or in a dark board bag in the sun. First we will cover small ding repairs such as nose and tail damage and small holes. Then we will move on to repair techniques for small area delamination.
For starters, lets summarize the steps involved for most small repairs.
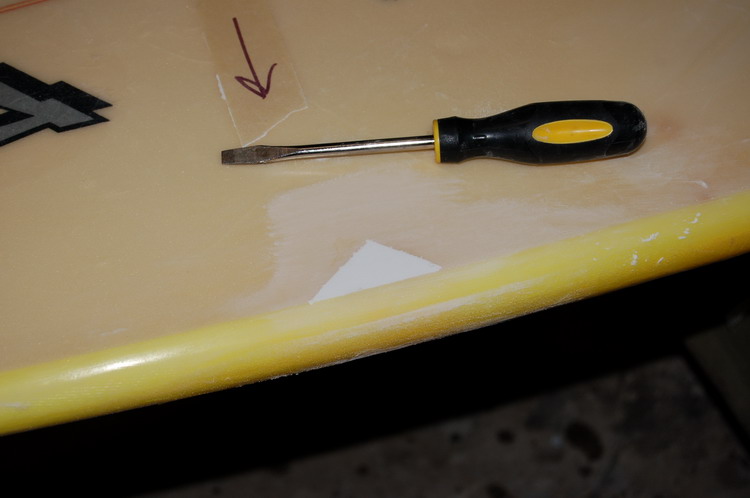
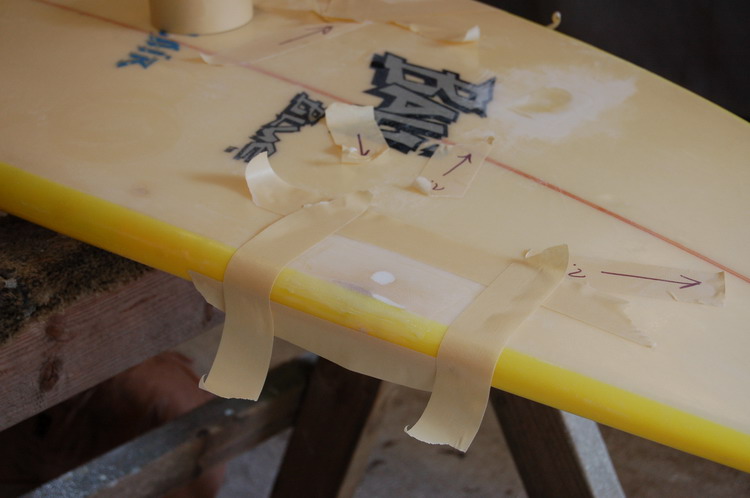
If it sounds like a lot of work, you got it right. It is. It isn't hard, but it takes time, perhaps 2 or even 3 hours total just to fix a medium sized ding. The first step for any repair after the damaged area has dried out is to clean all the wax away from areas that need repair. This may be a very good time to clean the entire board, since the shavings and dust from sanding will embed itself in the remaining wax and can make a rather irritating surface. Perhaps the easiest way to get the wax off is to set the board in the sun for a few minutes to soften the wax, then scrape off as much of the wax as you can using a plastic tool. To remove the rest of the wax residue, rags soaked with low odor mineral spirits work very well. It usually takes two passes with mineral spirits, changing to fresh rags in between, and then a good buffing with a third clean dry rag. I often do a final wipe down with rubbing alcohol to assure removal of all the wax and oil residue. Don't use acetone for wax removal. Acetone will remove the wax, but it may also remove the board's top coat and art work if the board was clear coated, which is common for production boards. After the board has been cleaned, inspect the entire board carefully to find any areas you want to fix. It helps to mark each spot with a piece of masking tape and arrows pointing to each suspect area if you are fixing multiple dings at the same time. If more than one ding, it is much faster to fix all the dings on each side of the board at the same time. Go ahead and mark all the suspect spots at this time, even if you don't intend to patch them all. That way, they will be easy to find if you decide that perhaps a drop of your leftover resin mix may help some of those little nicks.
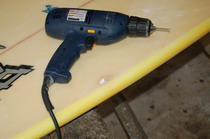
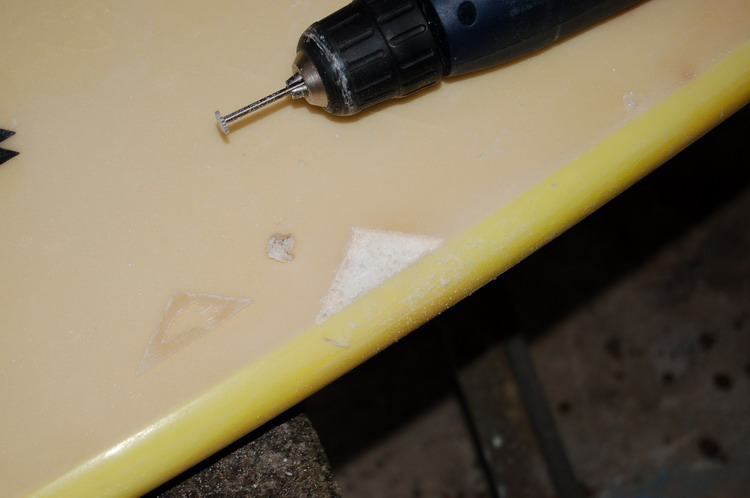
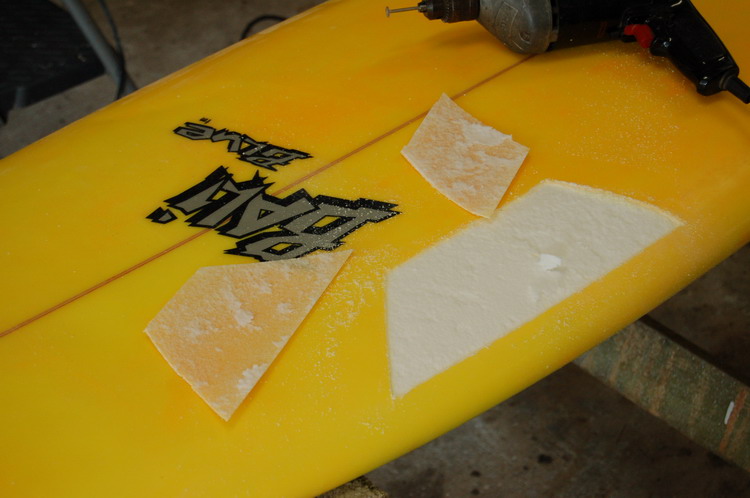
For dings that have gone too long without repair, and have rotted foam, like in the next picture below, I often cut out the rot and replace it with filler. You don't have to do this unless the damage is extensive enough to weaken the board. This spot would have been fine with just a touch of filler and a top patch, but I cut it out anyway to get the pictures for how to fix a spot like this. The Dremal saw blade you see in the drill above is an essential tool if you work on surfboards very often. It slices through the deck very easily and doesn't cut too deep. Always move the blade against the direction of rotation such that it is cutting up from the bottom. If you cut in the direction of rotation, the bit will climb out of the cut and run across your board very quickly, leaving a long gouge. You will see what I mean the first time you use one of these. Always wear goggles when using this tool or cutting the fiberglass deck with a razor knife.
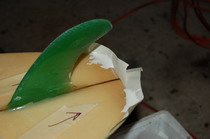
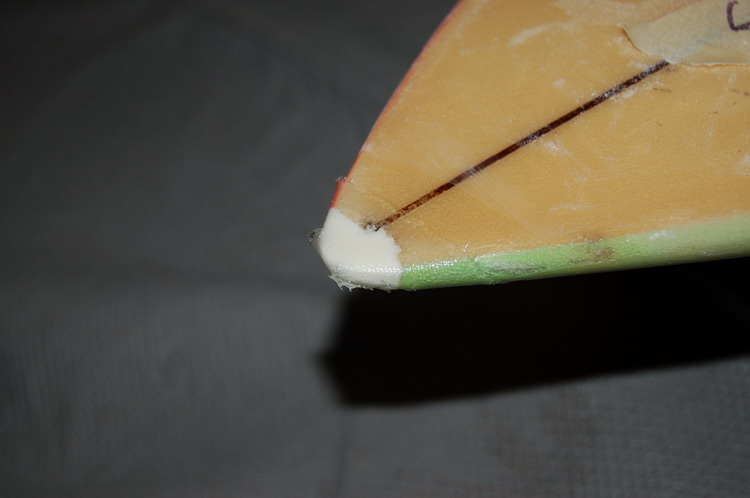
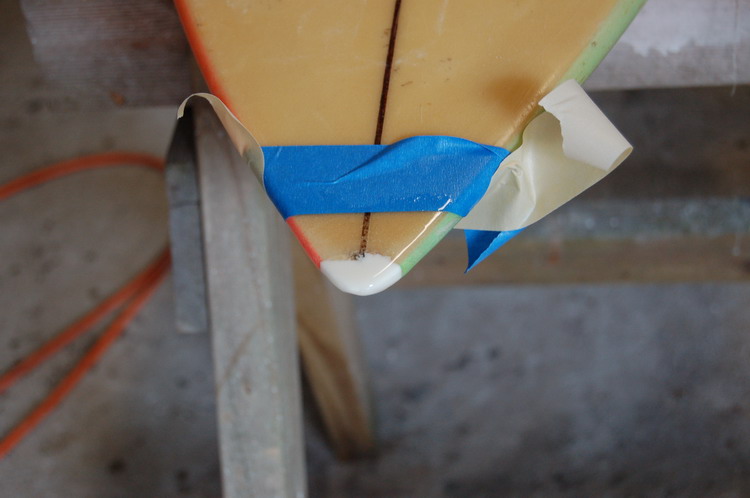
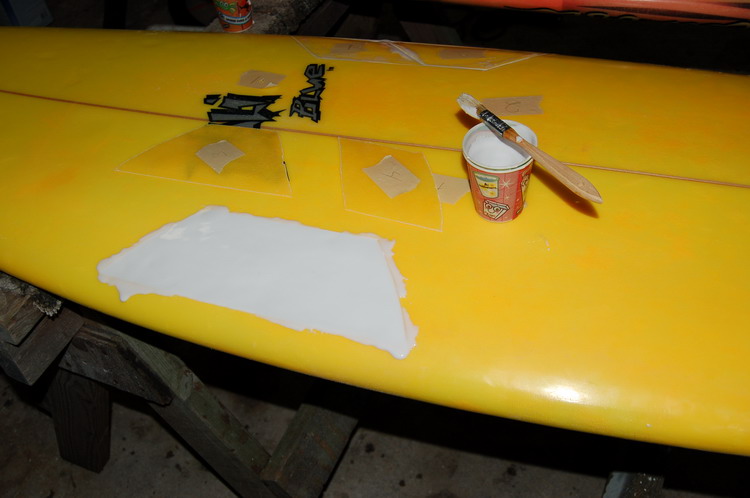
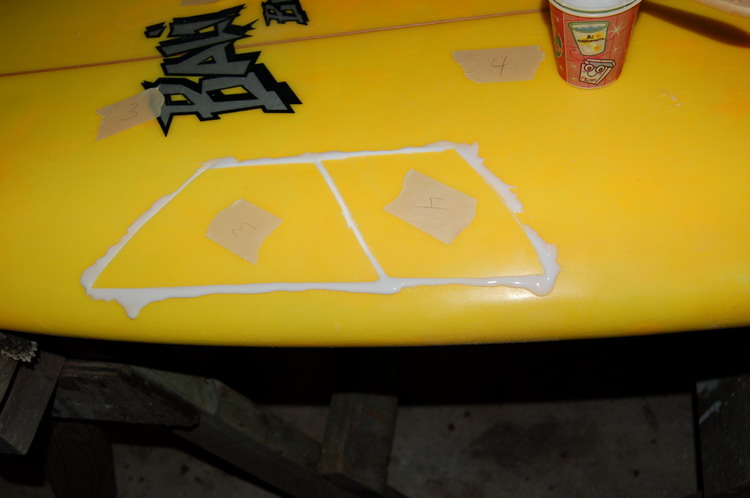
I mix the white powder (3M Glass Spheres) with resin to reduce weight. By volume, I probably mix 50 to 80 percent power, depending on how stiff I need the mix to be. You don't need to use the powder for small repairs, and it will probably look better if you don't. This is particularly true for an older board or for small tail or side rail repairs. For small repairs it is just a matter of preference. For larger repairs, or repairs near the nose where weight becomes more critical, the use of the light weight filler becomes more important. Also, in many cases you will need to thicken the resin mix. The powder is very good for making a thick paste. I used a very thick mix to fill this hole as shown in the picture below, and built up the filler above the level of the deck. It is much easier to sand down a high build up, than to have to apply a second coat to fill a low area. However, a second coat of filler is needed quite often if the first coat settles below the deck line. For tail. nose, and rail repairs where filler is needed, masking take can be used to make a simple form to hold the filler while it sets. Even a very thick mix of filler will flow a little bit before it sets.
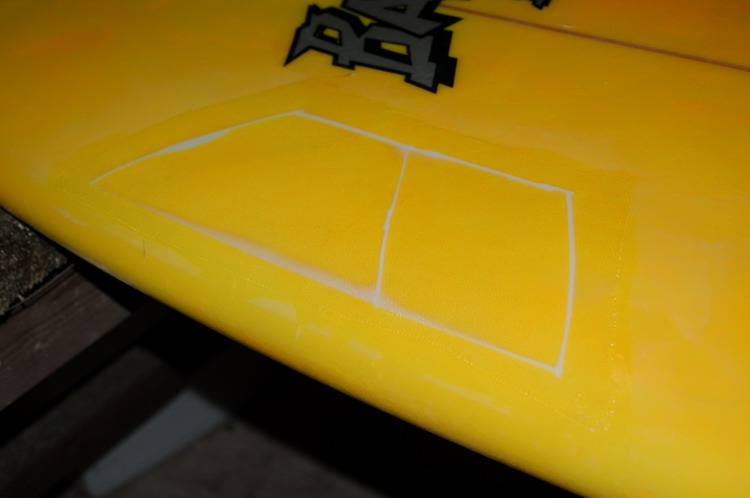
After the resin mix gels, you can trim it with a razor or just wait until it sets and sand it down. If you try trimming with a razor or knife, you run the risk of pulling up the patch, but it can save a lot of sanding. With a power sander and 60 or 80 grit sandpaper, build ups sand down very quickly. If you are working by hand, you may want to try trimming. When trimming with a razor, exercise extreme caution. Sand down the built up filler so that it is flush with the level of the deck, and rough up the edges around the filled area so that the cloth patch will get a good grip. I usually use 80 to 100 grit dry paper for this. Cut a patch of cloth large enough to cover the filled area and lap about an inch to each side. For short boards I use 4 oz cloth, for long boards I use 2 layers of 4 oz or one layer of 6 oz cloth for small dings, and 2 layers of 6 oz cloth for large dings. Cut all of your cloth patches before mixing your resin.
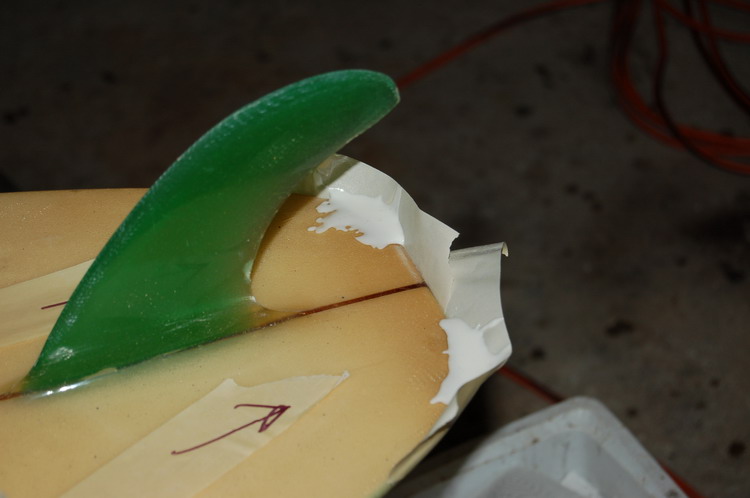
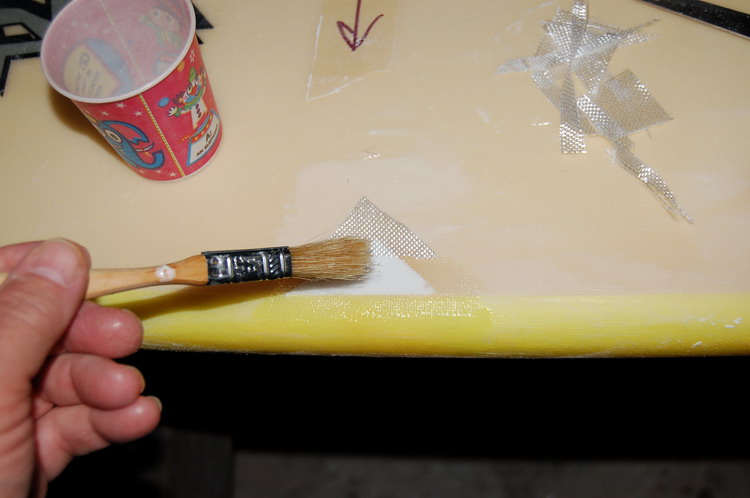
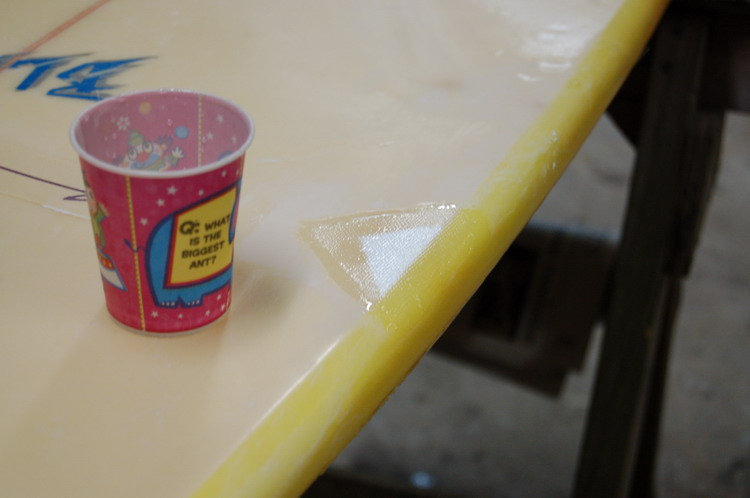
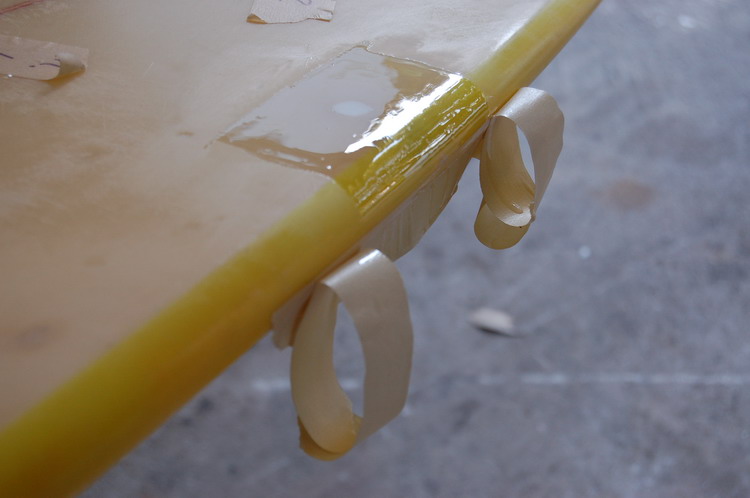
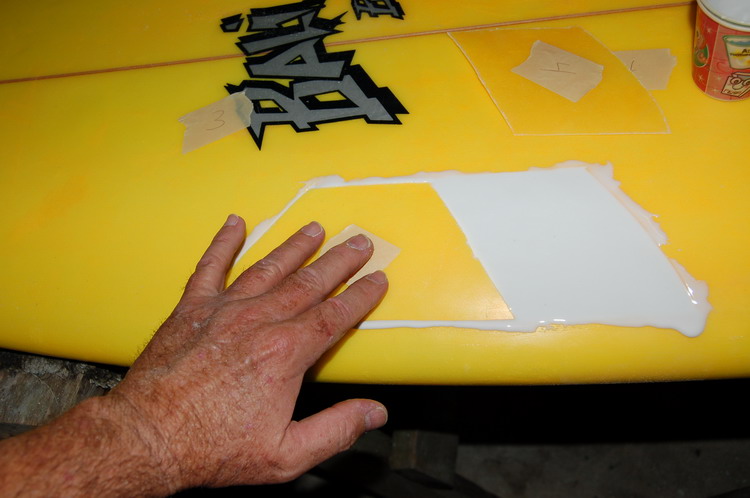
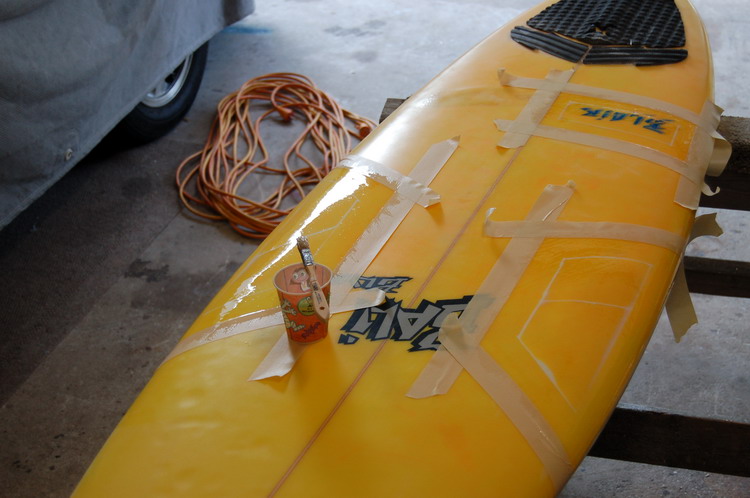
I use epoxy resin for just about everything. It is mixed with hardener at fixed ratios, sets up slower than polyester resin, and bonds extremely well to just about anything. It gives you lots of working time before it gels, and it has a very long shelf life (perhaps years). Polyester resin is mixed with variable proportions with hardener and therefore has a variable time to gel. If you mix in too much hardener, it will gel quicker than you can use it. If you mix in too little hardener and it may never harden. Also, in order to sand polyester resin, you must add a wax surfacing agent. Resin without the wax additive is called laminating resin. Resin with the wax additive already mixed in is called sanding resin. There are many grades of both types of resins. You always want to use resins that are intended for surfboard. Don't use that brown stuff they sell at auto parts stores. Surfboard resins are always clear, but not all clear resins are surfboard resins. The best bet is to obtain your resins from a surfboard shop or surf industry supplier. Fiberglass Florida in Rockledge and US Composites in West Palm Beach are two suppliers I am familiar with. Now that you have all of your cloth patches cut to size, mix up enough resin for all the patches. The actual lamination is the easiest step, and goes very quickly. Just saturate the cloth patches to the board. Don't smear resin beyond the edges of the cloth, and if you do, wipe it up with clean paper towels. For small patches, I just wet them in. For larger patches, I use a plastic squeezy to draw off excess resin and seat the patch firmly to the board. Watch carefully for air bubbles and dry spots. It is easier to get it right the first time. However, if you get an air bubble, you can cut it out and redo it after the first patch sets. The following pictures show the patch being laminated and then after if has been squeezied. If you are doing a rail patch, put masking tape just below the bottom edge of the patch to keep resin from running down to form droplets on the bottom side of the board. If you pull off the masking tape after gel, but before the resin sets up hard, it will save you from the possibility of having to sand off masking tape (which clogs up sandpaper very quickly).
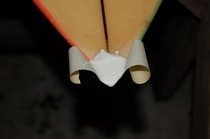
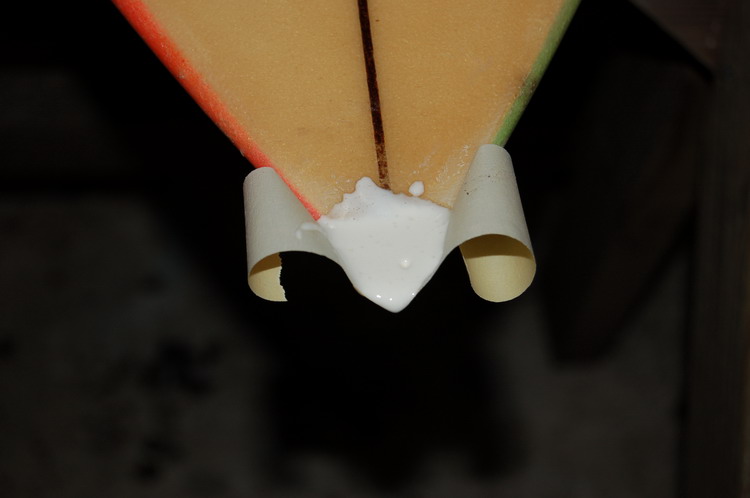
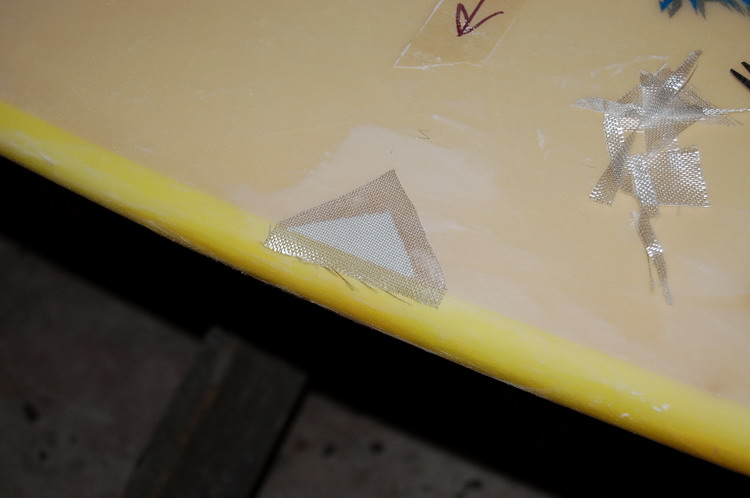
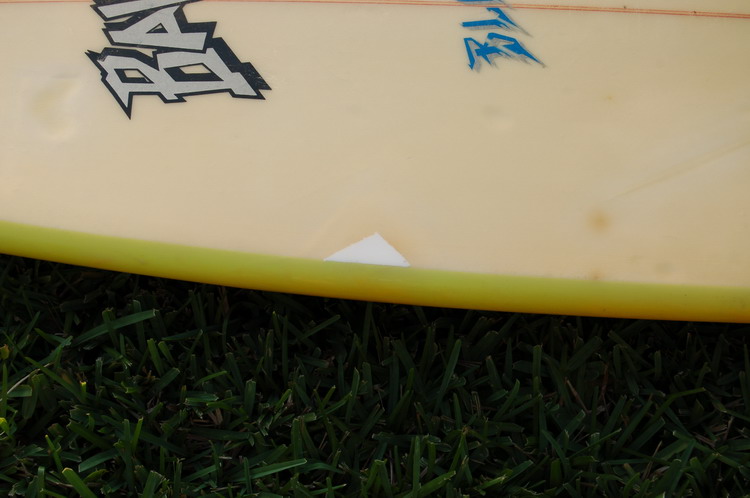
For nose and tail patches, you could apply a patch to one side and then the other, but it is better to just wrap around the edge. To do this, you will often need to make cuts in the fiberglass cloth so that it doesn't bubble up on tight bends. If you have never done a nose or tail patch, try a practice patch or two until you figure it out. If it doesn't come out right the first time, just wipe off the cloth and resin with paper towels and try again. I didn't get pictures of this step, but you can figure it out pretty quickly. Basically, you are just cutting tabs in the section of cloth that will make the tight rail wrap, and you laminate each tab down one at a time with one tab overlapping another. In the picture below, the cloth section that was going to make the rap around the nose was sliced so that there were three tabs. You can still see how the cloth strands stick up a little bit. Don't worry about the build up as long as the rail comes out without any major air bubbles. You will sand off any excess build up and cover it with more resin later. Fixing the nose is always just a little tricky.
You now get to take a break. With slow epoxy you may need to wait 24 hours. With fast epoxy or polyester, the wait won't be so long. After the patch has thoroughly set, sand just enough to take down any high spots and fare out the edges. Don't over sand or you'll take the patch right off. Use 150 grit sand paper for this and change the paper often if it clogs. Sand the surface about ¾ of an inch beyond the edge of the cloth. Tape up all the way around the patch with good quality masking tape. Old tape may not stay down well and allow resin to seep under the tape. Mix up enough resin to paint the taped up areas. Apply the resin just as though you were painting, brush it cross wise, length wise, and then at 45 degree angles to make the resin coverage complete and even over the entire taped area. Watch it closely for a few minutes and brush out any air bubbles. You are going to sand it some more so it doesn't have to be perfect. But it should be pretty smooth at this point. As soon as the resin gels enough that it isn't running, carefully pull off the masking tape. If working a rail patch, leave the bottom tape on for a little longer than the top and sides, but pull it off before the resin sets up hard. That's it. You are done except for sanding.
Sanding is what makes or breaks the quality of your patch. If you don't sand it well in the first place, your patch won't hold. If you don't sand it well at the end, it won't look very good. If you did everything right so far, your patch should now be a nice shiny block of smooth, fleshly hardened resin. It should look pretty good, but not match the finish of the rest of the board. If you are in a hurry, you can leave it as it is. However, if you want to get it right and match as closely as you can to the original finish of the board, there is still some work left to do. First, bust off the glaze and fair the edges with 150 grit dry sandpaper. A small electric block sander works very well for this. Don't cut down into the deck while fairing and don't cut into the fiberglass strands of the cloth patch. Just light pressure is all that is needed. Just take off the shiny glaze on the top and try to make the edge lines almost disappear. Follow up with a light sanding using 220 grit. The patch should feel smooth to your hand, but it still won't look very good.
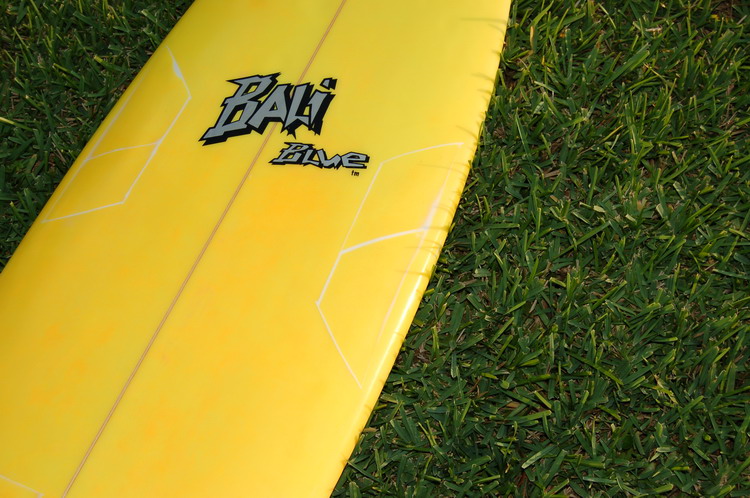
Next comes wet sanding. Wet sanding is one of the secrets to a good looking patch. Using a slow stream of running water or a squirt bottle with slightly soapy water, sand by hand with 320 grit wet sandpaper. If you can still see the edge lines, a lot of rigorous scrubbing with the 320 will make them disappear. The patch should become clear and blend into the board. Now repeat the process with 400 grit wet sandpaper. Just sand for a short duration with the 400 grit while until it looks nice and smooth. Dry it off. If your board had a sanded finish the patch should now blend in quite well. If your board was clear coated, you can try a spray can of automotive clear coat to blend it even better. If your board has a gloss coat, you will need to buff it with fine POLISHING compound. Rubbing compound is too coarse. Be sure to use polishing compound. Auto paint shops sell it, and McGuire has a paint cleaner compound that should work well. Although you can polish by hand with a lot of buffing, a power buffer works much better.
Now you know why your local surf shop charges $35 to fix that little rail ding. It's a lot of work patching a surfboard. I suspect that if you totaled up all your time, you would see that you spent about 2 hours fixing that little ding. That is also why you want to fix all the dings at the same time. It is much more efficient that way. If you did a good job, you should now have a water tight board that is just as strong as it was to begin with, and almost as light. You'll be able to see the patch and it probably will be far from perfect, but you should not be able to feel it with your hand. Particularly on the bottom. I don't spend quite as much time on the top deck since it gets covered with wax anyway. But you want it real smooth on the bottom. Go forth and ding no more |